


海外取引所や国内取引所でも2段階認証として使われている「Google Authenticator」の紹介になります。誰でも使えるアプリで、これを使う事で、ログイン時にセキュリティーを高める事が可能となっています。
Google Authenticatorの利用目的
「Google Authenticator」の利用目的は、認証の強化です。
ネット銀行にログインしたり、振り込みをする際に、セキュリティーを高める為に、ワンタイムパスワードという認証方式があります。
ワンタイムパスワードとは、1回限りの数字のパスワードを発行して、それを入力する事で、悪意のある人達のクラッキングを防いでいるものです。
下記画像は、PayPay銀行(旧ジャパンネット銀行)のワンタイムパスワード発行用のカードになります。右下のボタン(赤枠)を押すと、グレーの網掛け部分(赤枠)に数字が表れて、それを入力する事で、認証が完了する仕組みとなっています。
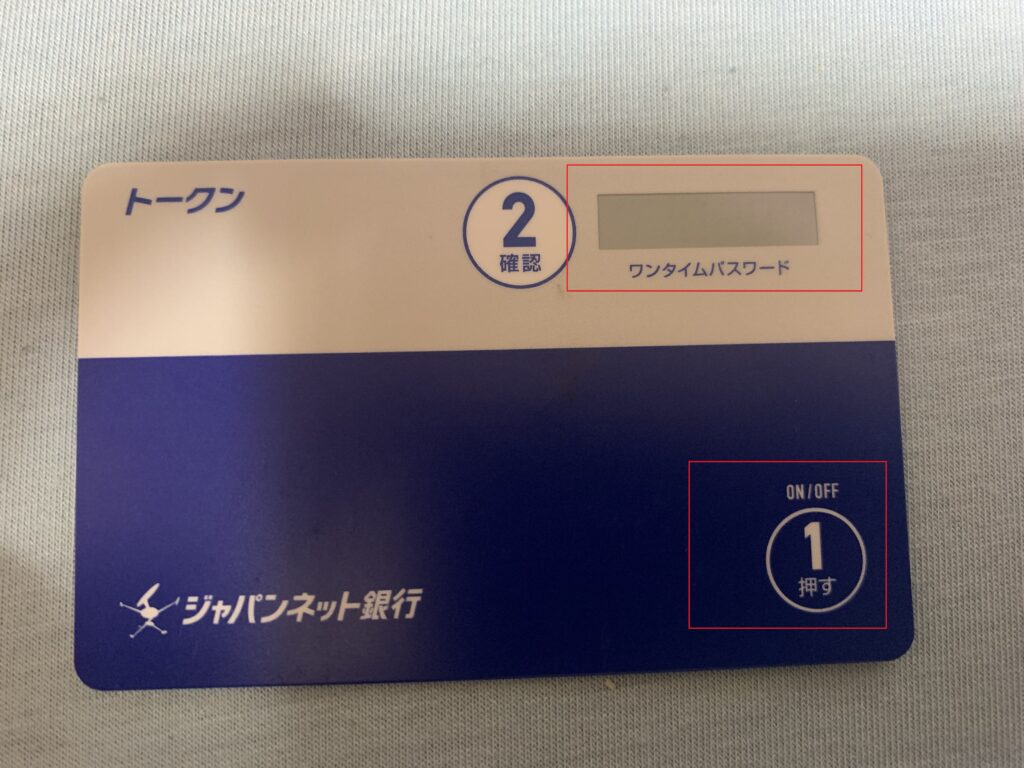
都度、番号が変わる為に、カードを持ち合わせていない人には、認証を行う事が出来ない仕組みになっています。
「Google Authenticator」も同じ仕組みで動きます。
「Google Authenticator」のアプリと対象のサービスが連携し、認証時に都度、異なる番号が発行されますので、それで認証する形になります。
Google Authenticatorのインストール
「Apple Store」又は「Google Play」で「Google Authenticator」と検索すると、下記画像のアプリが出てきますので、これをインストールします。

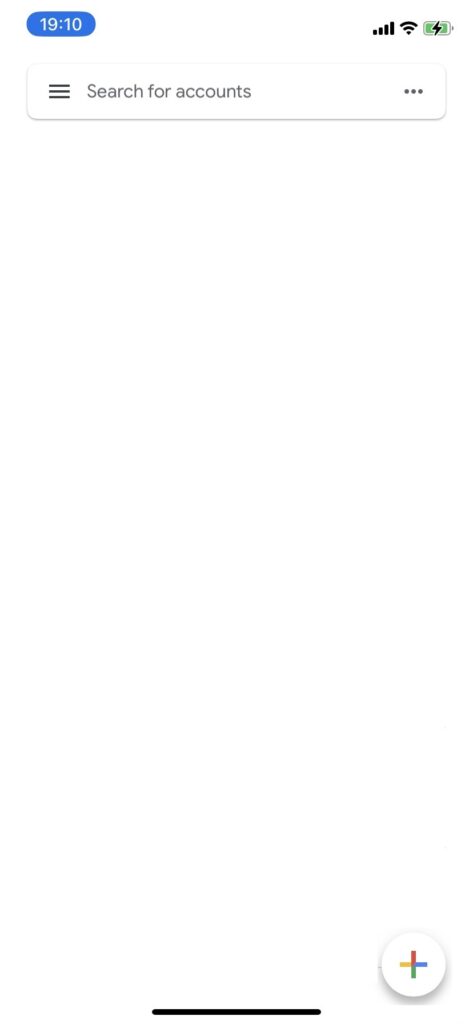
インストール後にアプリを起動すると以下の画面が出てくると思います。
Google Authenticatorの設定方法
認証を行うサービスの方で、「Google Authenticator」に読み込ませる為のQRコードが表示されます。
QRコードとは、下記の画像のような2次元コードの集まりになります。これを「Google Authenticator」のアプリで読み込む事で、使用が可能となります

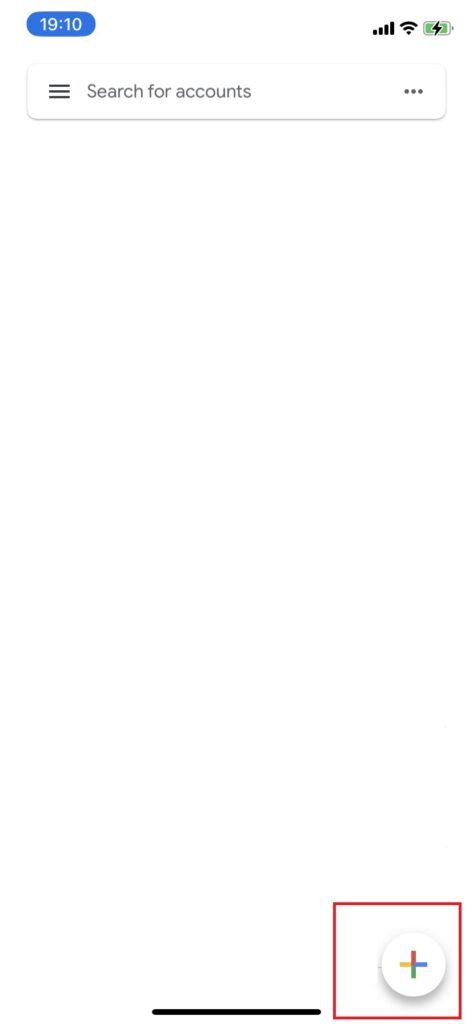
QRコードが出たら、「Google Authenticator」の「+(赤枠)」の部分をクリック
「Scan a QR code(赤枠)」が出るので、これをクリック
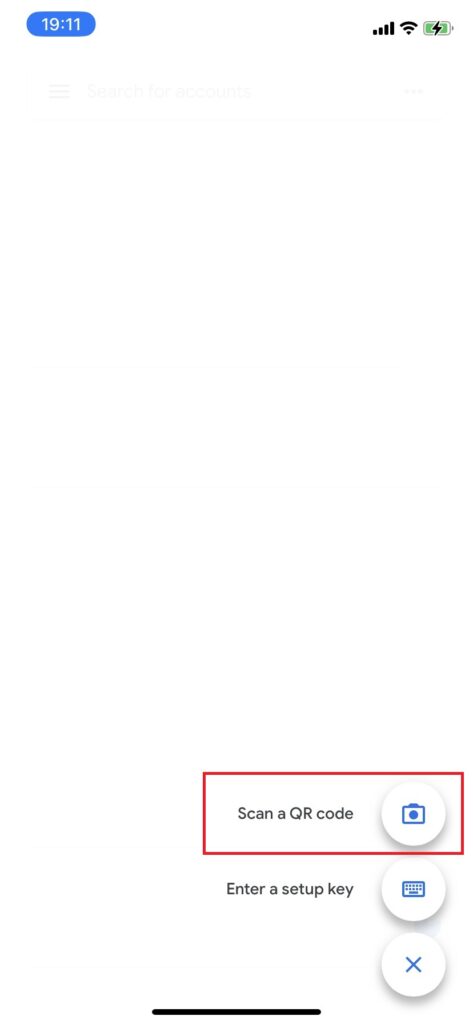
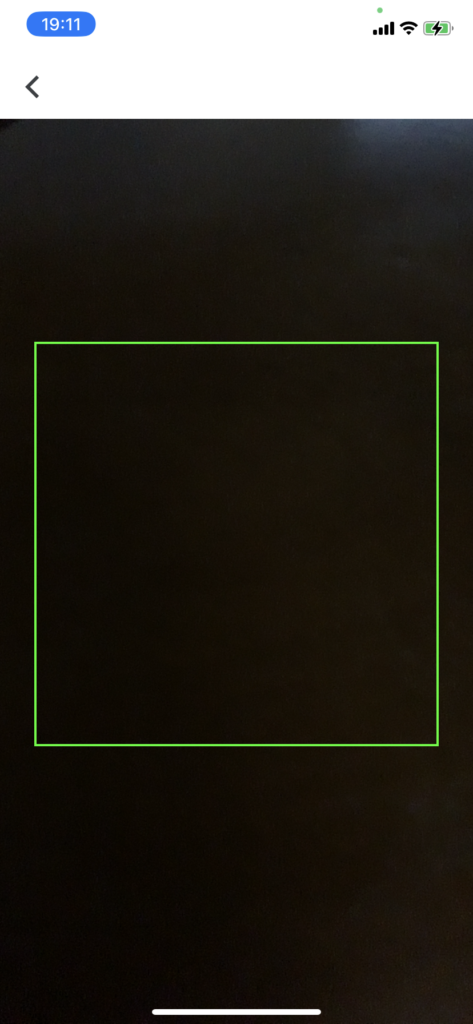
カメラ機能が出るので、QRコードを読み込む
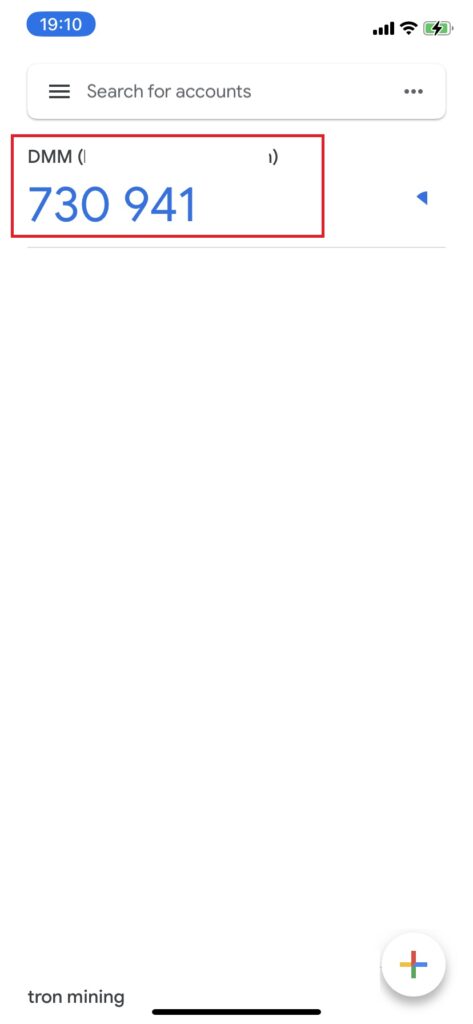
QRコードを読み込むと、6桁の数字(赤枠)が出るようになります。
2段階認証時に、この数字を入力する事になります。
「Google Authenticator」の設定は以上です。
次からは、2段階認証をサービス側から求められた際には、上記の番号を入力する事になります。
複数サービスの設定
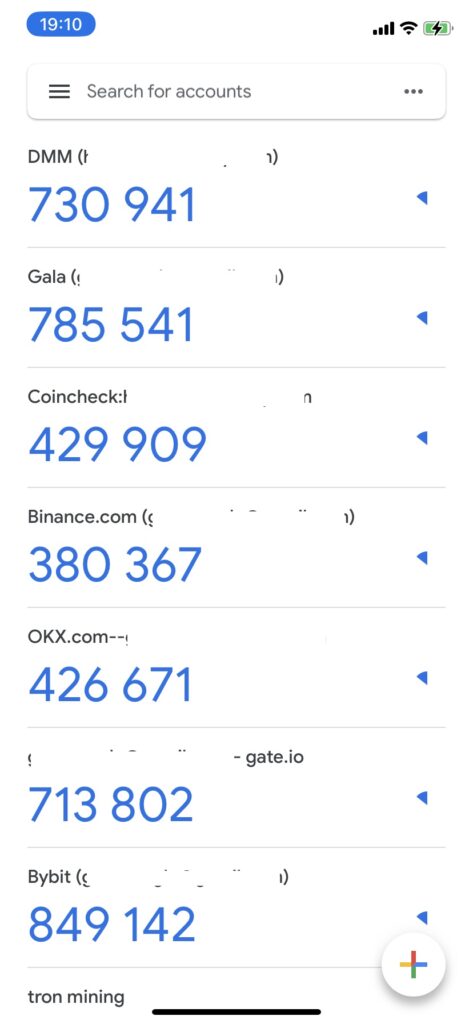
「Google Authenticator」は複数のサービスで使う事が可能になっています。
複数サービスを入れると、サービス毎に名前が入りますので、そのサービスにあった数字を入力します。


コメント